Articulated & Flexi
Disposal Box with Print in Place Hinge – Various Sizes
SKU 3DPW-pr-131037
$17.00NZD
In stock · Made-to-order resin · Ships from Auckland · Free shipping over $75
- Material
- High-Detail Resin (8K)
- Colour
- Grey
- Weight
- ~40 g
- Print time
- ~4.5 h
- Shipping
- $10 std · $20 express
- Lead time
- 1-3 d print + 1-4 d ship
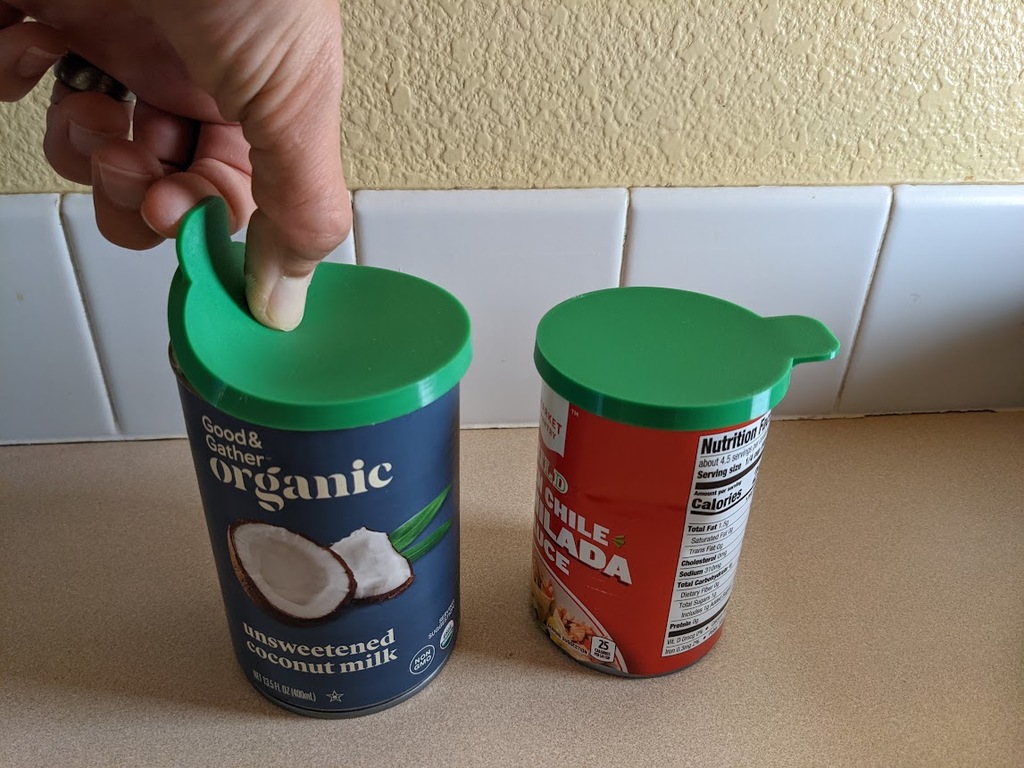
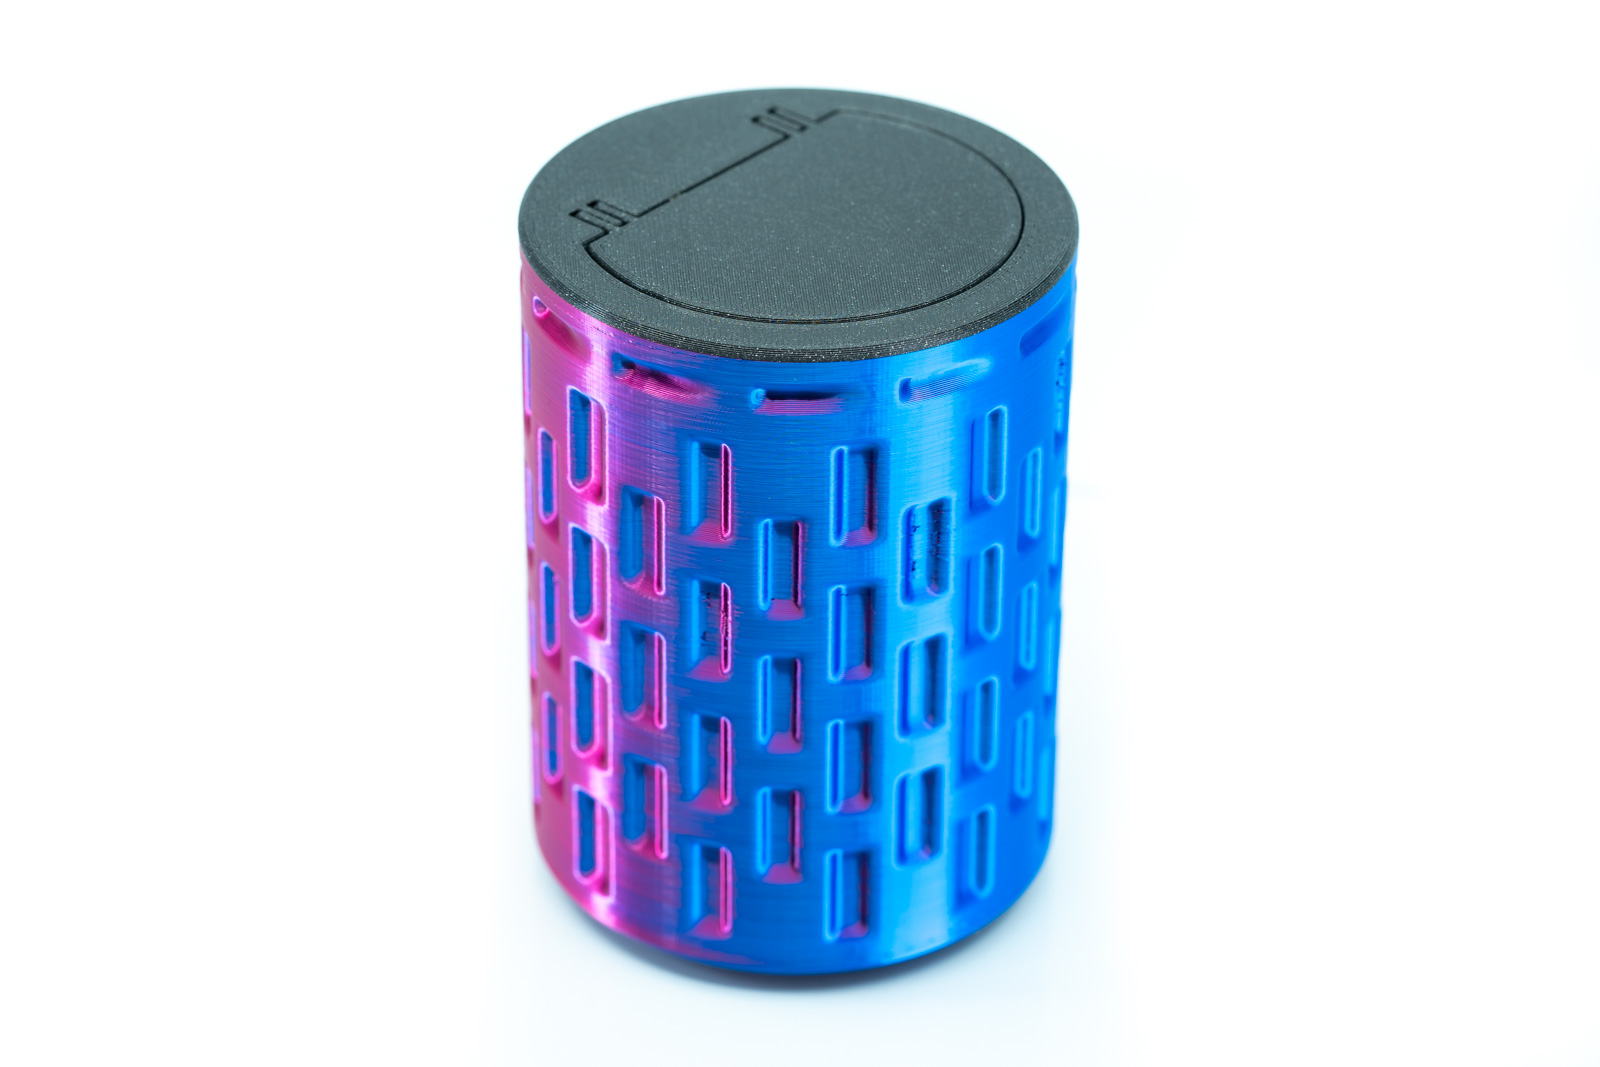
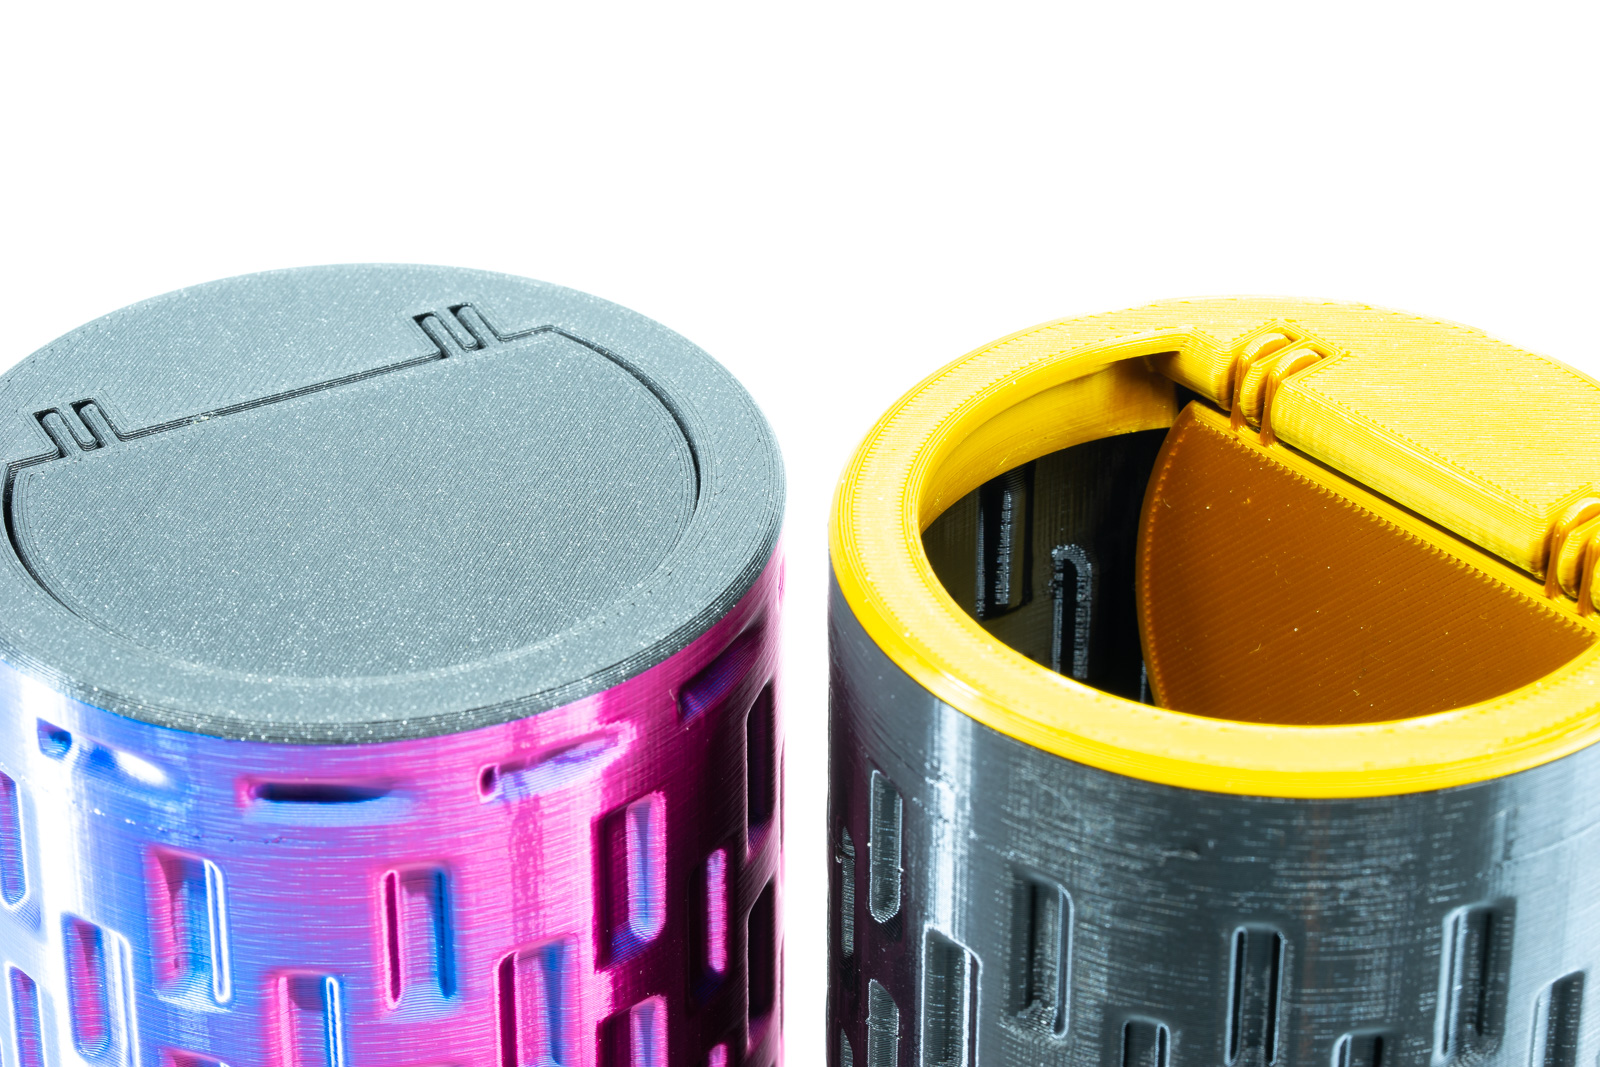
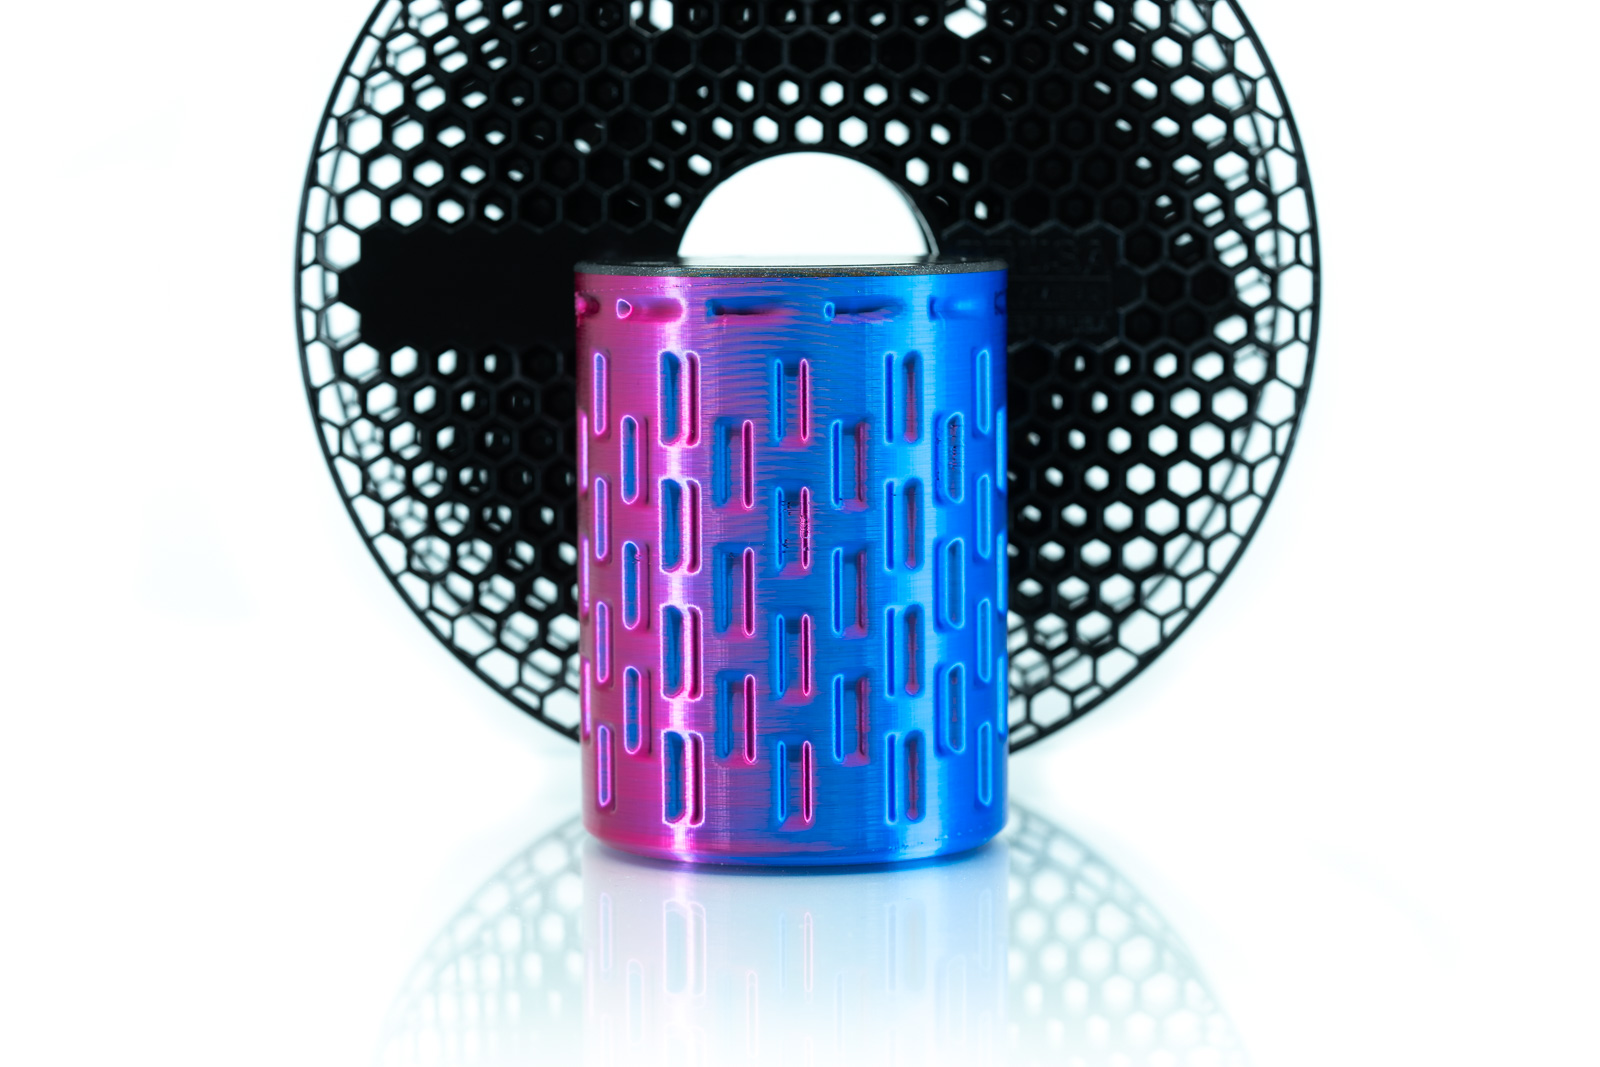
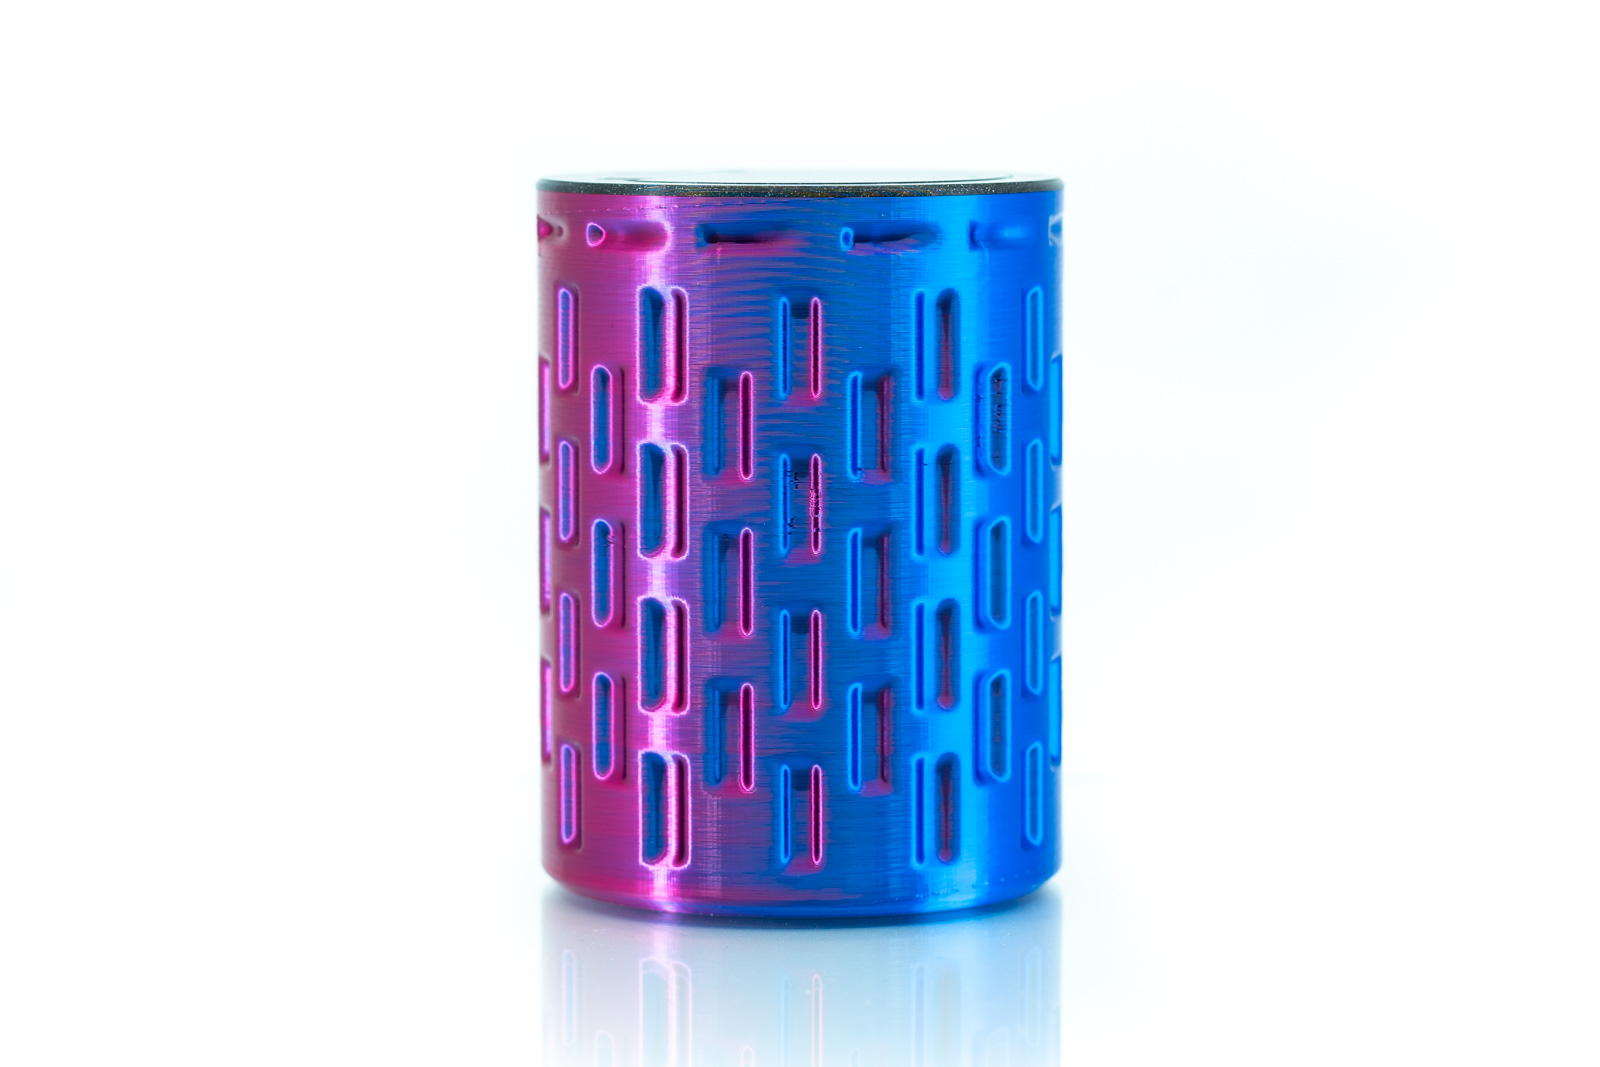
I created a small disposal box with various diameters and container heights with this design. The lid with the hinge is printed in place and screwed onto the container. There are no supports required for this print, and I recommend printing it using PETG or PLA. Update 2022-02-10: Because of a problem in Fusion360, the lid models for the diameters 100 and 120 were not generated perfectly. I uploaded new versions “LR2212B-L…” where this design issue is fixed. See the “Revisions” section for details. Update 2022-05-05: Added lid models with tolerances T65-T80. How to Print this Disposal BoxPrint the lid with the flat side on the printer bed. Also, do the same with the container. There is are multiple Prusa Slicer example projects, ending in “Print”, where I configured all my recommended settings. For the container, I added projects with three different seam settings. You can also see the correct orientation of the parts in these example files. Alternatively, check out my recommendations in the table below: Nozzle Size:0.4mmLayer Height:0.2mmFilament Materials:PLA or PETGPerimeters:Three perimeters for the lidInfill:15%Prusa Slicer Profile:“0.2mm Quality”Advanced Settings:Disable “Fill Gaps”, except for the first 2mm of the models.For matt, glittery or dark PLA, enable “Random Seam Positions”.Choose either “Nearest” or “Rear” seam position for shiny, reflective PLA.AssemblyRubber BandFirst, slide the rubber band through the gap between the inner two extensions of the hook on the lid, as shown in the following photo: Next, move both ends of the rubber band in front of the hook and sideways: Next, cross the two ends, then slide it around the hooks on the rim. Now you can fasten the ends using the two poles as shown. Lid to ContainerJust put the lid on the container and rotate clockwise to lock it in place. DimensionsLidsThe lids have the following filename and part number format: LR2212-L<diameter>-T<tolerance index> The diameter is in millimetres; for the tolerance index, see the section below. ContainerThe container has the following filename and part number format: LR2212-C<diameter>-<height>-T<tolerance index> The diameter and height are in millimetres; for the tolerance index, see the section below. Tolerance IndexThe tolerance index is a value between 00 and 99, where 50 is the neutral middle. Lower values are models with a tighter fit, and higher-value models have a more loose fit. As you can see, both the lid and container have a range of tolerances. If you are unsure, try printing both lid and container with T50. This tolerance value should work with a well-calibrated printer and give a good fit. If the hinge blocks, use a model with a higher tolerance index, like T55. Spacing between lid and container is also affected by the higher tolerance. If you had a good fit there, use the tighter version (T45) for the container to compensate for the change. For the spacing in the hinges and at various other places, the tolerance index is T = 0.01mm. Hint: To find the best fit between the lid and container, print a ring with the top 10mm section of the container. To test just the hinges, stop printing after they are complete. Or even print only half of the model. PhotosThe filament I used for the prints in the photos: 3DJAKE magicPLA Deep SpacePrusament PLA Galaxy BlackPrusament PLA Viva la Bronze (Blend)For the seams, I used the “nearest” setting. If you look closely, you can see some of the seams around the sides. Explore More from Meti·kumiInterested in my designs? Browse through my collection of 3D models: 👉 https://metikumi.com/3d-models/ Stay connected on social media for the latest updates and work-in-progress insights: 👉 https://metikumi.com ConclusionI hope you find some uses for this small disposal box. Please rate it and upload photos of your prints if you like them. Let me know if you run into problems or have ideas on improving these models. Happy printing! 😄 RevisionsLid Revision B – 2022-02-10The rim was missing the chamfer on the printer bed. While the absence of this should not cause any print issues, the gap between the lid and the rim looks more symmetrical.The number of hinge blades was not adjusted for the larger lid diameters. Now larger lid diameters have more hinge blades and support ribs as expected.
Tags: can, box, closed, container, lid, hinge, resin print, nz made, made to order
Design credit: Original design by Metikumi - licensed under CC-BY-SA.
View original model + STL files on Printables ↗
View original model + STL files on Printables ↗
Frequently asked
How long does shipping take?
Disposal Box with Print in Place Hinge – Various Sizes is printed to order. Lead time is typically 1-3 business days plus 1-4 days NZ shipping. Standard NZ shipping is $10, free over $75.
What material is this printed in?
By default this is printed in High-Detail Resin (8K) at 0.025 mm layer height on an MSLA resin printer. Custom material and colour swaps are available, just leave a note at checkout.
Can I get this in a different colour?
Yes. Every product can be printed in any of the resin colours we stock, or hand-painted on request. Leave a note at checkout or email [email protected].
Do you ship outside of New Zealand?
Currently New Zealand only. Australian shipping is coming.
Who designed this?
Designed by an independent sculptor and licensed for commercial printing. The original is linked on this page.