Enclosures & Cases
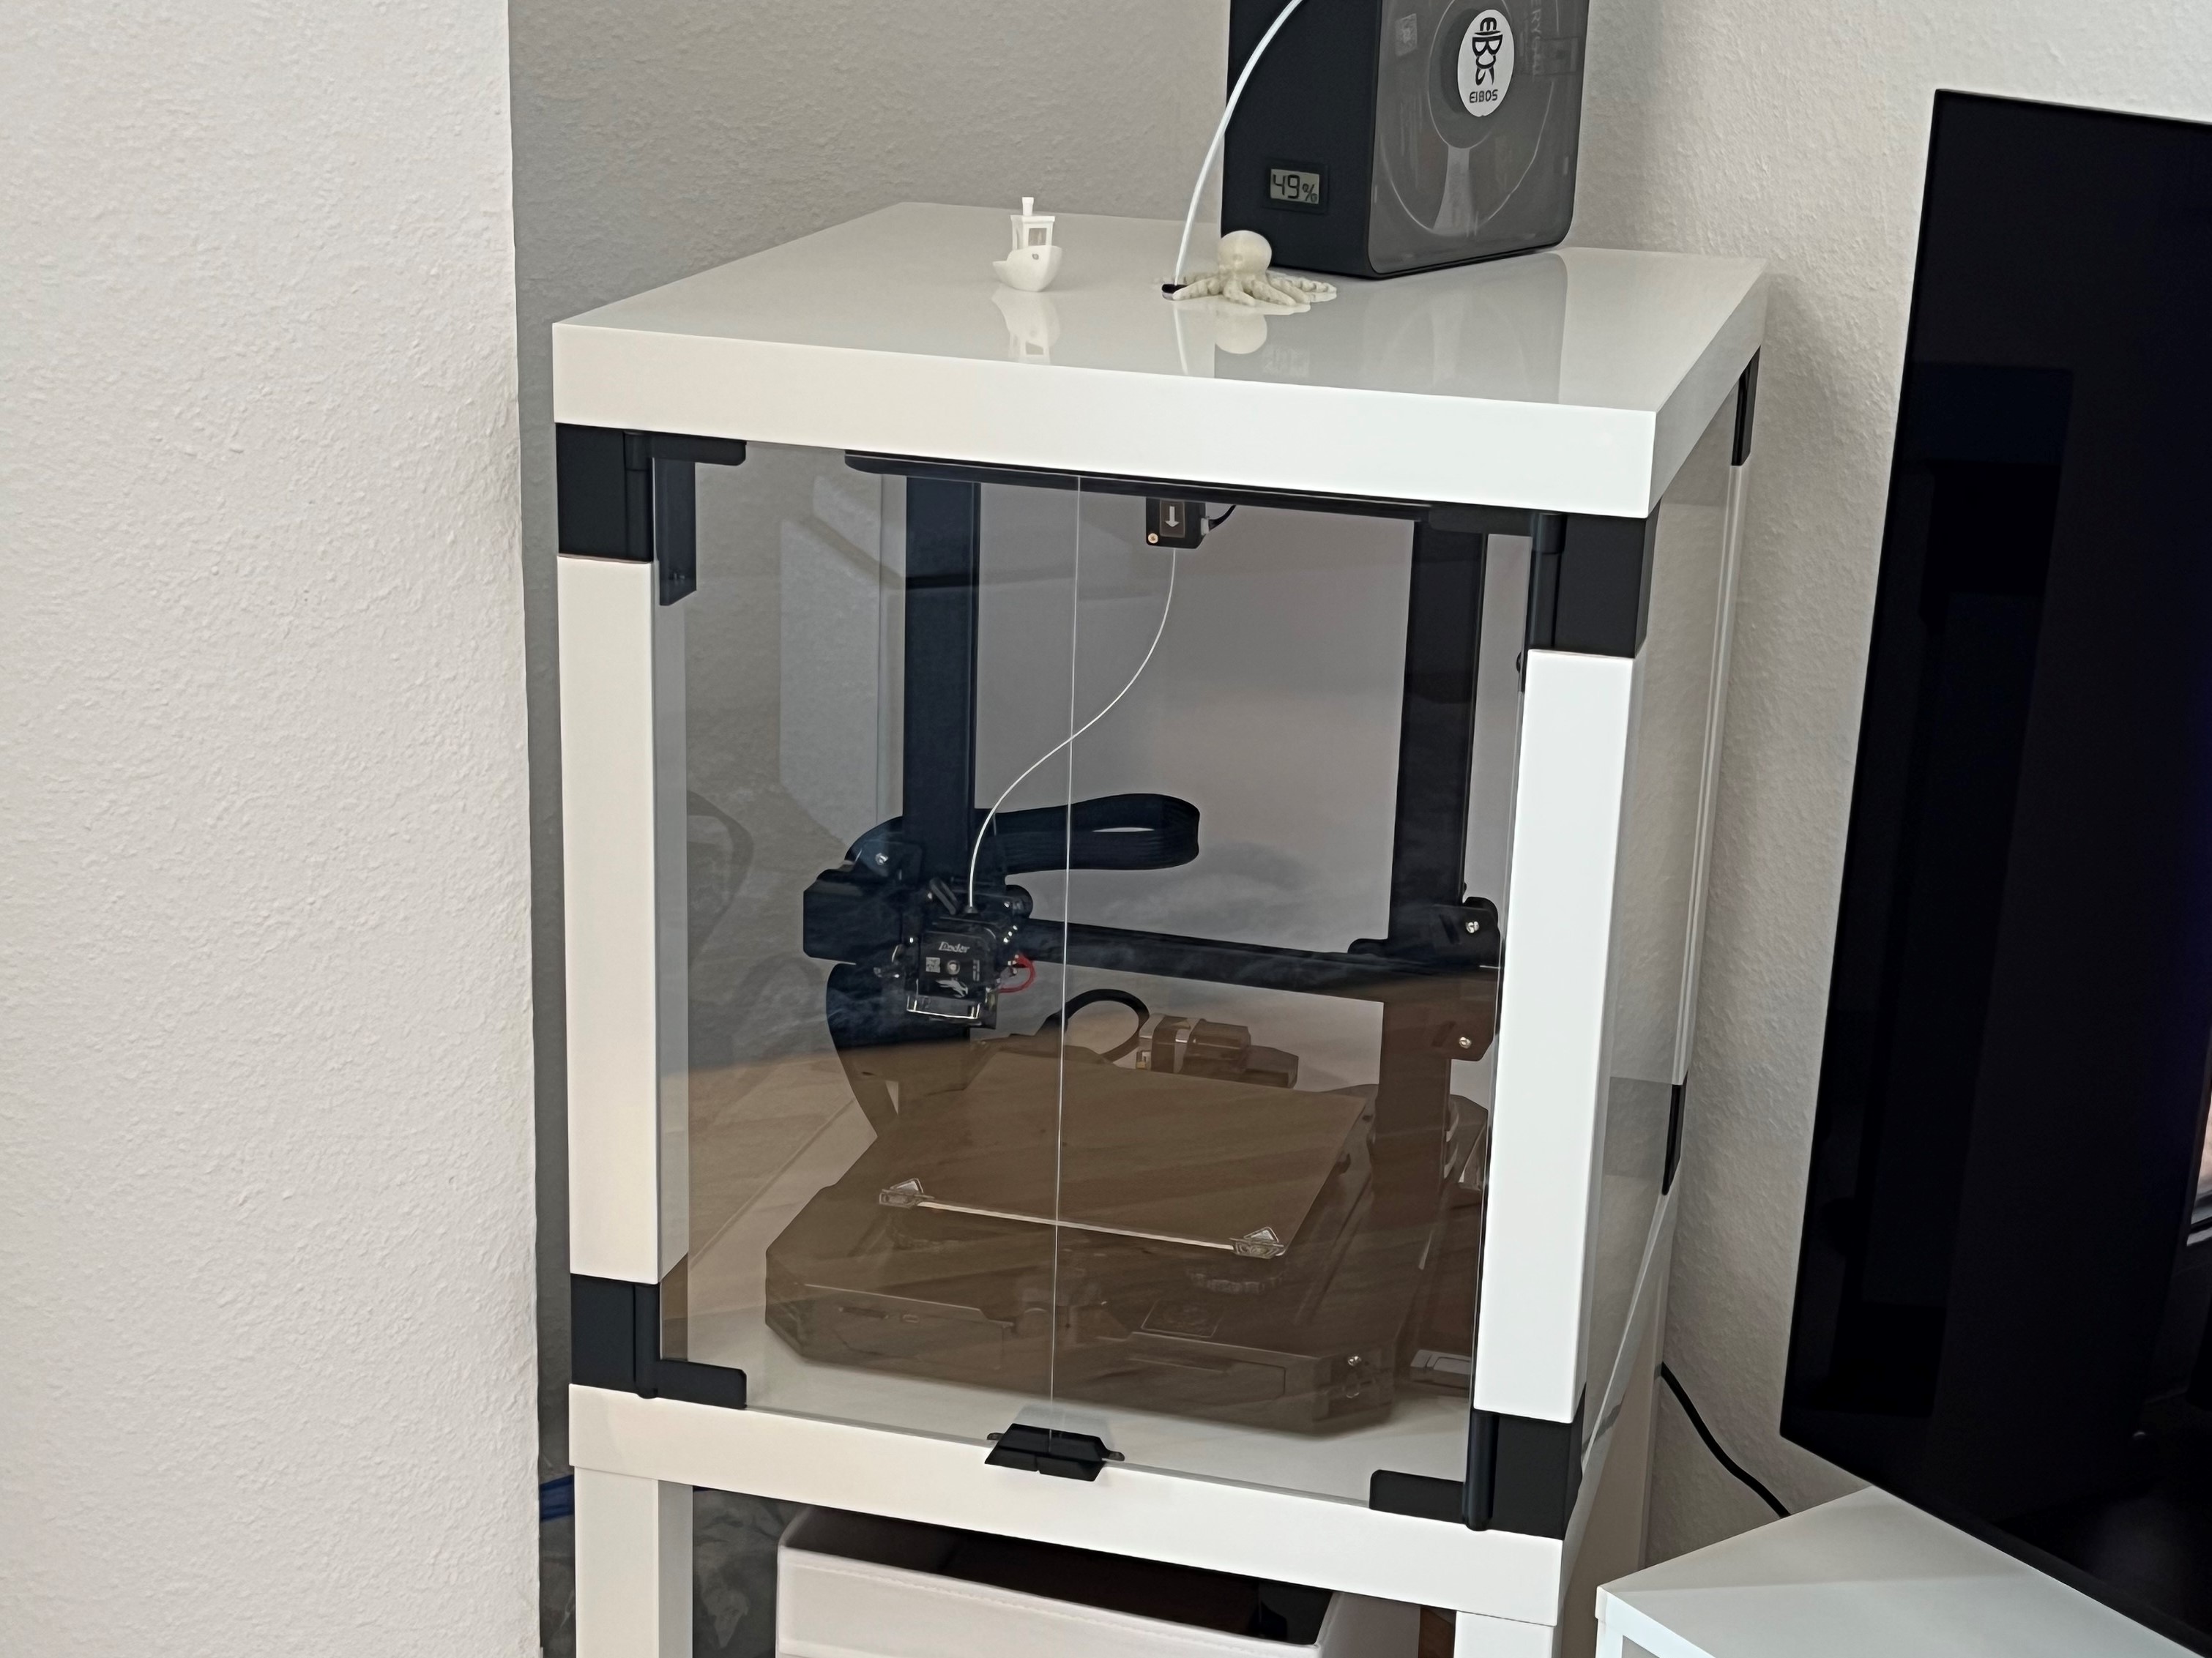
Ender 3 S1 Pro ENCLOSURE - Remix - Ikea Lack table
SKU 3DPW-pr-509715
$200.00NZD
In stock · Made-to-order resin · Ships from Auckland · Free shipping over $75
- Material
- PLA (filament)
- Colour
- Grey
- Weight
- ~40 g
- Print time
- ~4.5 h
- Shipping
- $10 std · $20 express
- Lead time
- 1-3 d print + 1-4 d ship
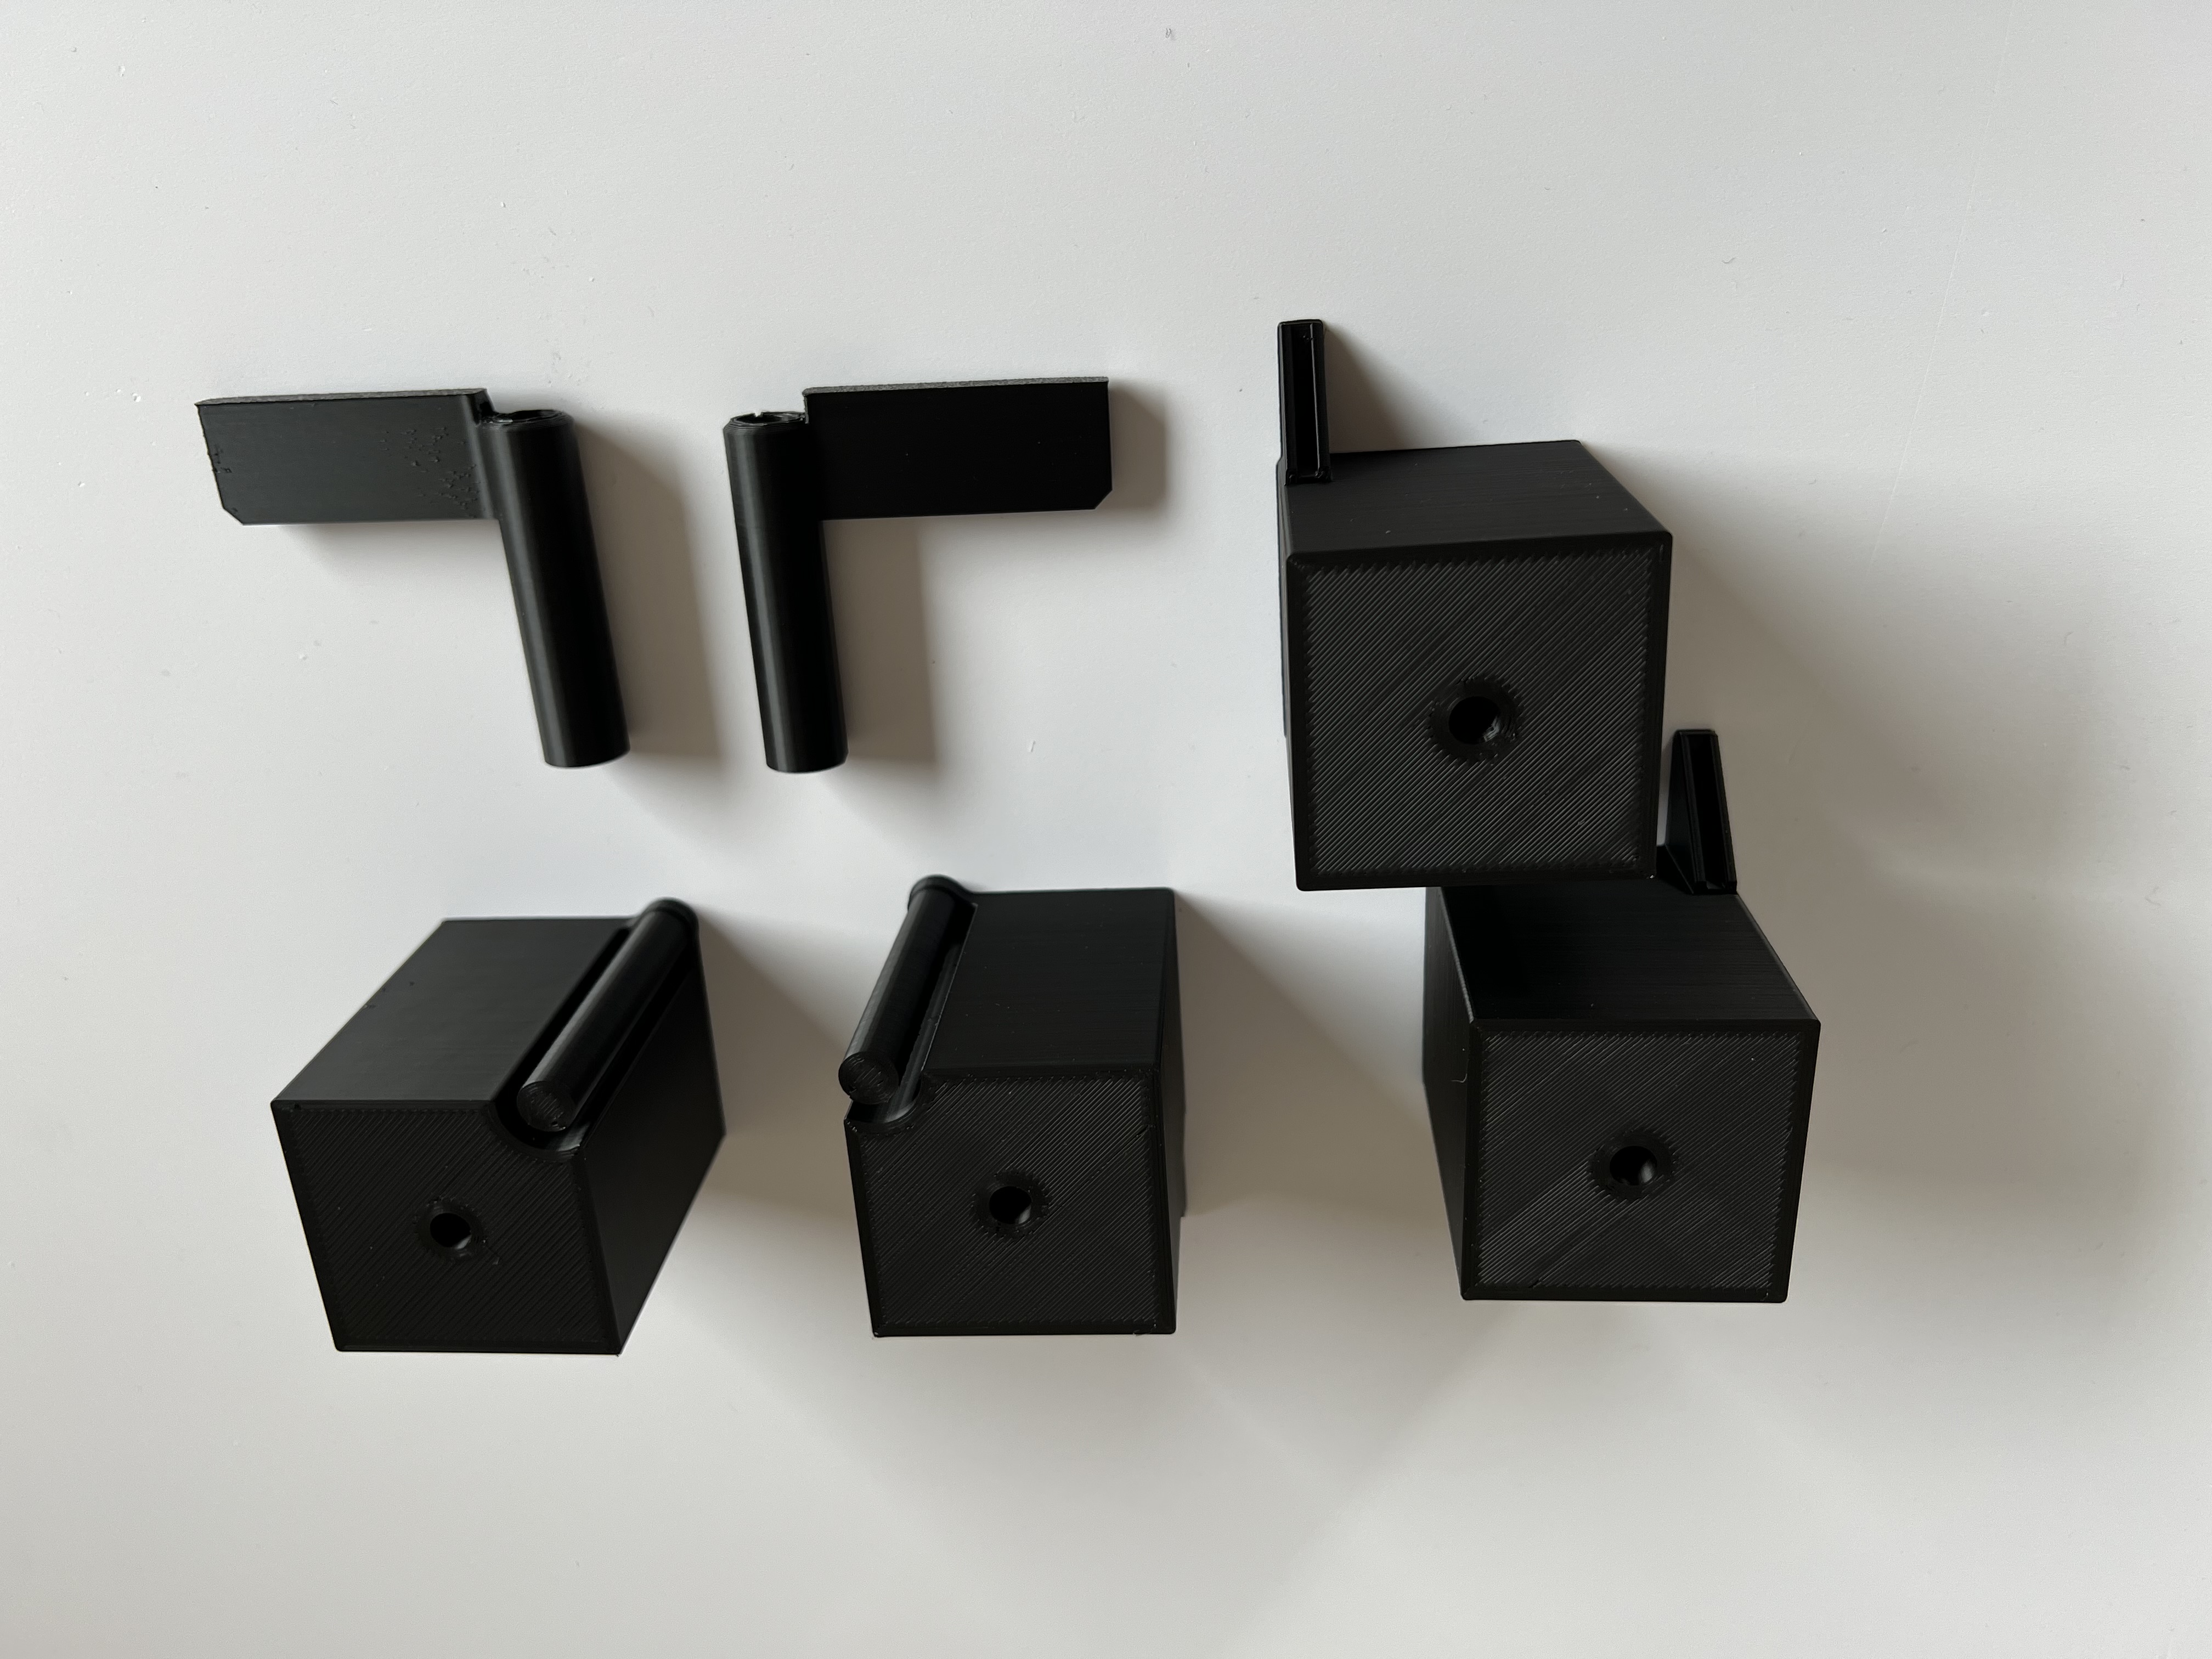
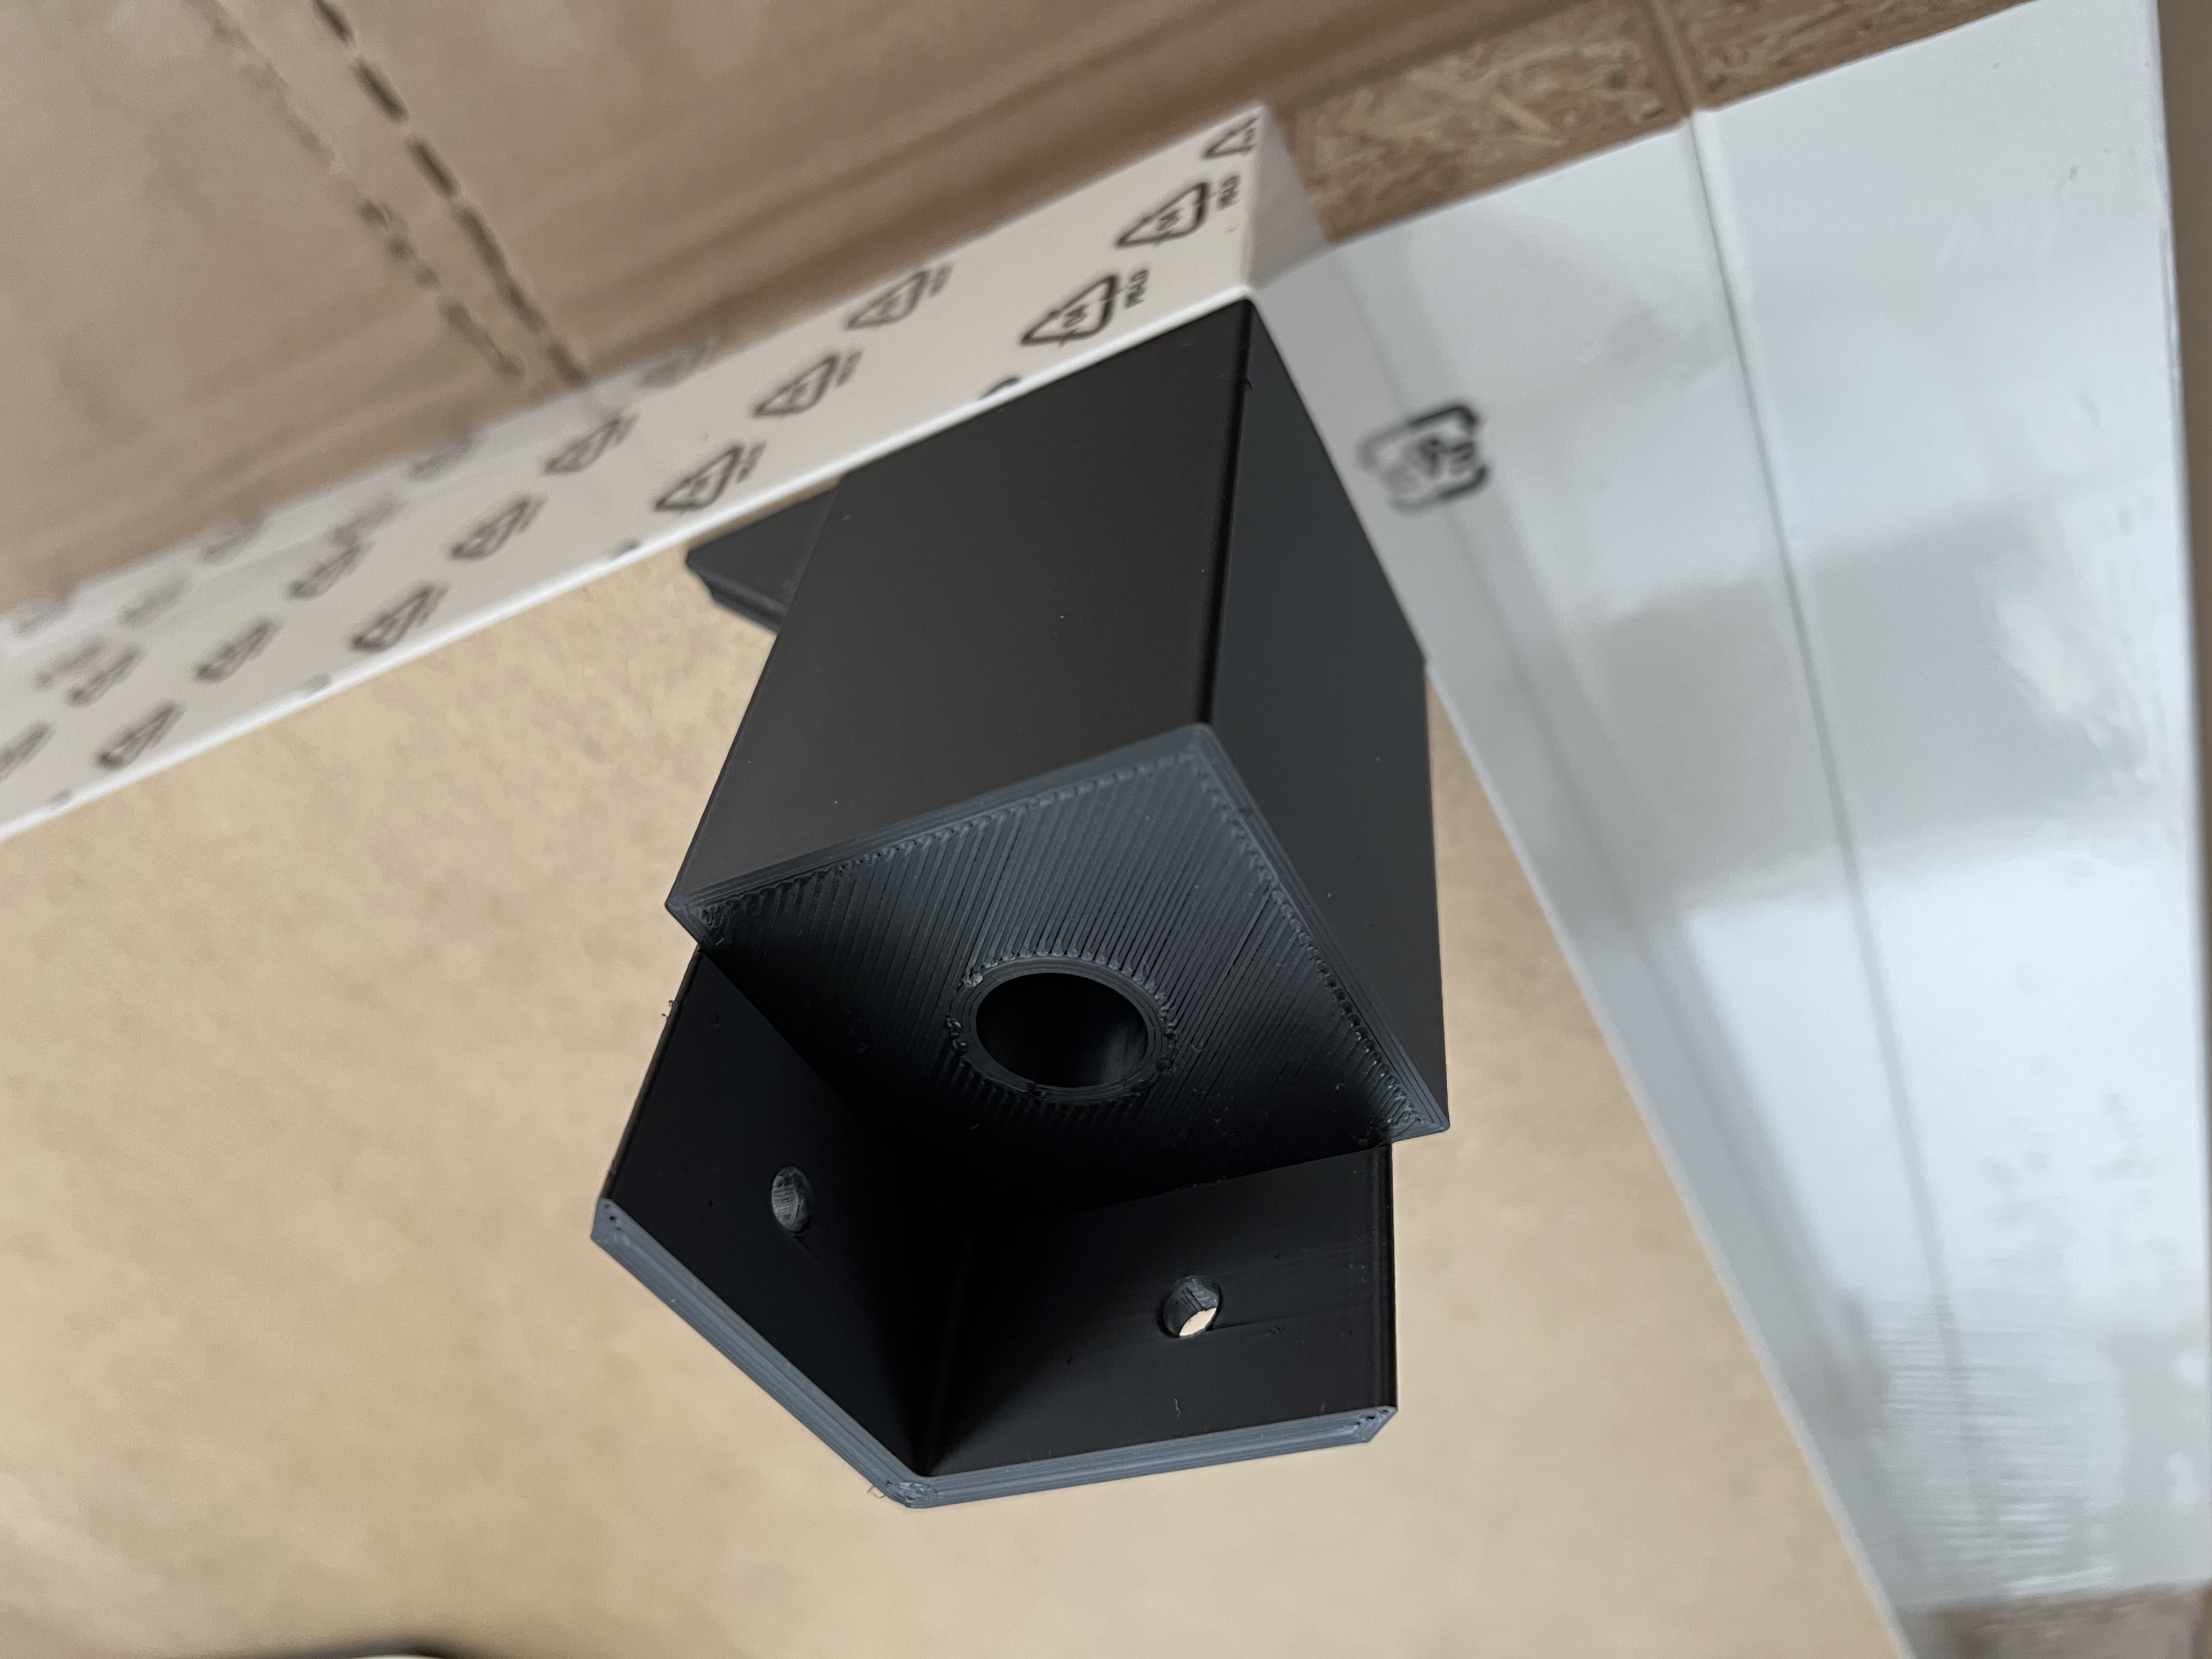
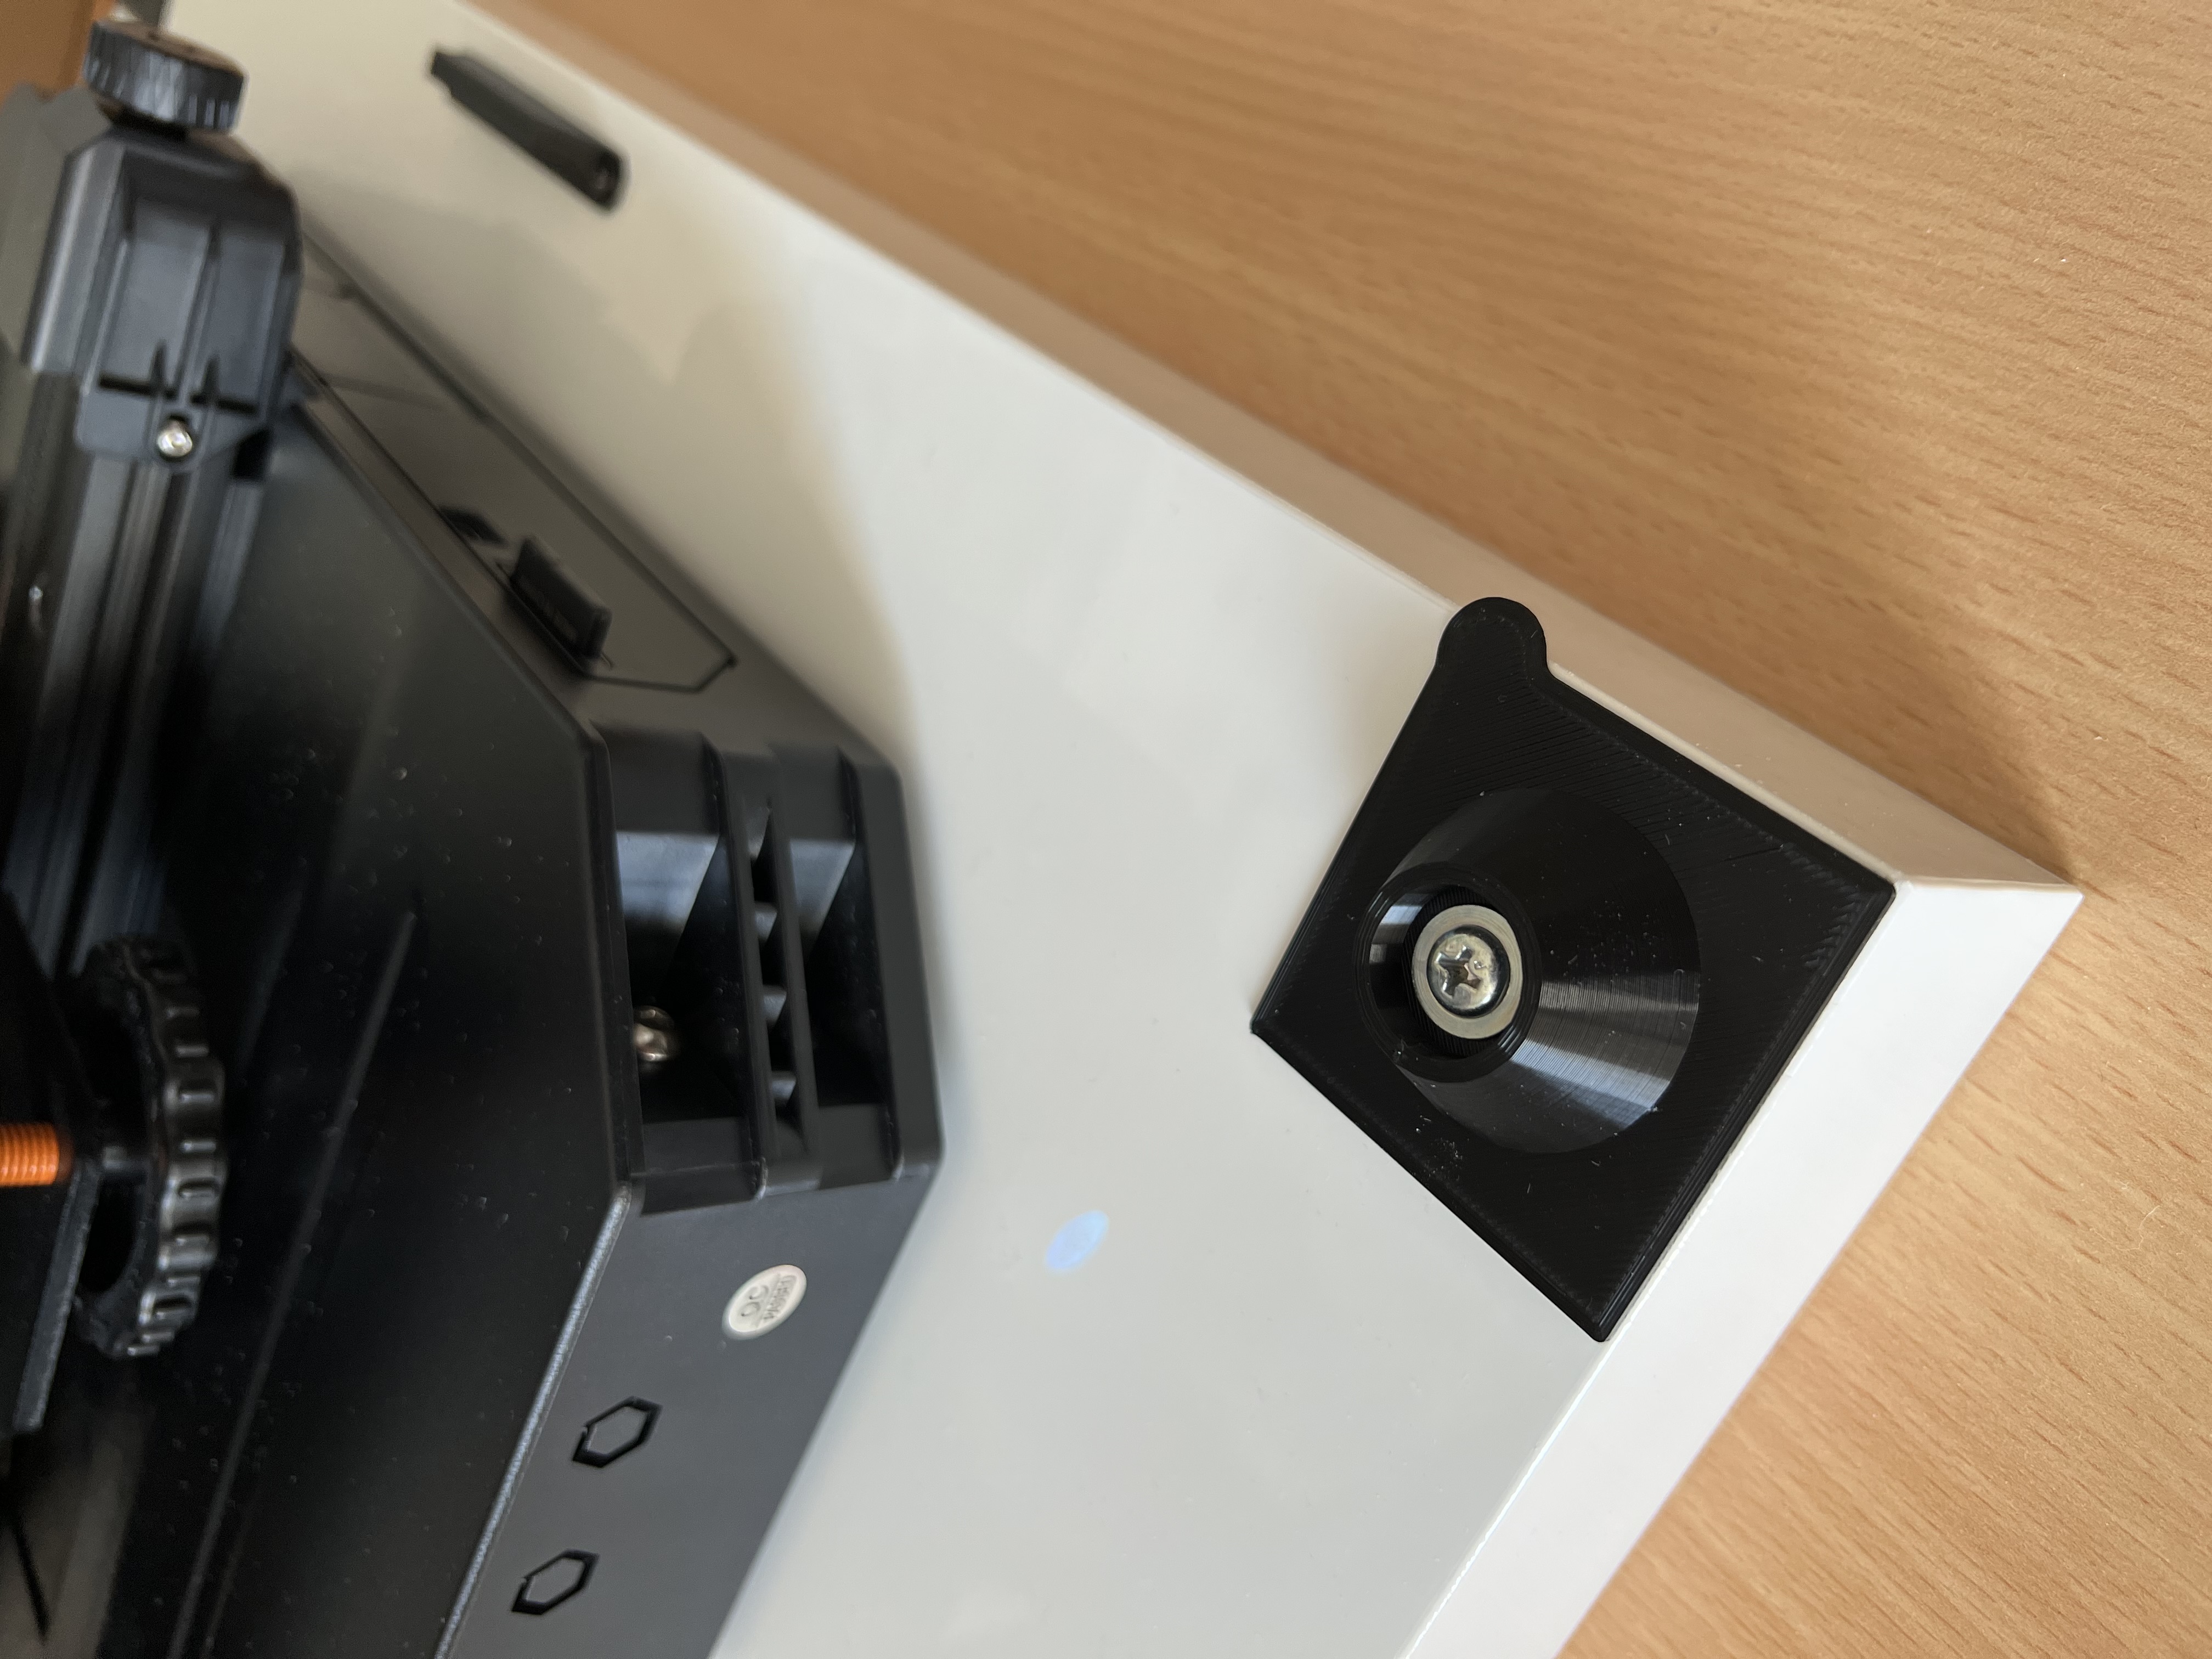
Material list (non-printed parts): 2 IKEA Lack table 55x55 cm (or stack 3 if you prefer a higher standing position)2 Plexiglass (Width: 445mm Heigth: 527mm Thickness: 3mm)2 Plexiglass (Width: 222mm Heigth: 527mm Thickness: 3mm)1 PVC sheet (Width: 546mm Heigth: 629mm Thickness: 3mm)4 Neodym magnets 20x4x2 mm4 6x40 wood screw for top corners (up to 60mm length possible)4 6x70 or longer wood screw for bottom corners4 6x20 wood screw for base feet (up to 30mm length possible)8 4x16 flange head wood screw for mounting IKEA Lack legs to upper corners2 3x10 wood screw for mounting the magnetic door stopperGlue (for inserting the Neodym magnets)Instructions: Print all of the parts included in this model and the filament sensor bracket that you can find here (only for Ender 3 S1/pro): https://www.printables.com/model/428965-ender-3-s1pro-filament-sensor-bracket Update 24th August 2023: New Filament guide tube v2 available with larger inside diameter (less resistance for the filament) It is recommended to perform the assembly from top to bottom, starting by turning the IKEA Lack tabletop upside down. Drill a 8mm through hole into the tabletop for the filament guide tube first.Mount the top corners + hinges with 6x40/50/60 screws.Mount the legs with 4x12/16 screws to the upper corners.Insert the plexiglass side windows (plexiglass doors could also be inserted later).Mount the bottom corners + hinges to the legs.Screw the feet to the base tabletop with 6x20/30 screws and attach the legs.Glue in the magnets and mount the magnet door stopper to the base tabletop with 3x10 screws.Position your printer on the base tabletop and put the whole upper shell of the enclosure on top.Finally, in the PVC sheet, create a cutout for the heated bed power cable and add it with tape or some additional screws to the back of the enclosure.Additional step: If you aim to stabilize the enclosure and reduce vibrations, you could print the following brackets: https://www.printables.com/model/560831-ikea-lack-reinforcement-bracket Have fun building you own personal enclosure!
Tags: magnet, enclosure, modern, ikealackenclosure, ender3s1pro, resin print, nz made, made to order
Design credit: Original design by LW design - licensed under CC-BY-SA.
View original model + STL files on Printables ↗
View original model + STL files on Printables ↗
Frequently asked
How long does shipping take?
Ender 3 S1 Pro ENCLOSURE - Remix - Ikea Lack table is printed to order. Lead time is typically 1-3 business days plus 1-4 days NZ shipping. Standard NZ shipping is $10, free over $75.
What material is this printed in?
By default this is printed in PLA (filament) at 0.025 mm layer height on an MSLA resin printer. Custom material and colour swaps are available, just leave a note at checkout.
Can I get this in a different colour?
Yes. Every product can be printed in any of the resin colours we stock, or hand-painted on request. Leave a note at checkout or email [email protected].
Do you ship outside of New Zealand?
Currently New Zealand only. Australian shipping is coming.
Who designed this?
Designed by an independent sculptor and licensed for commercial printing. The original is linked on this page.