Articulated & Flexi
Print-in-place pegboard access door
SKU 3DPW-pr-52575
$43.00NZD
In stock · Made-to-order resin · Ships from Auckland · Free shipping over $75
- Material
- High-Detail Resin (8K)
- Colour
- Grey
- Weight
- ~40 g
- Print time
- ~4.5 h
- Shipping
- $10 std · $20 express
- Lead time
- 1-3 d print + 1-4 d ship
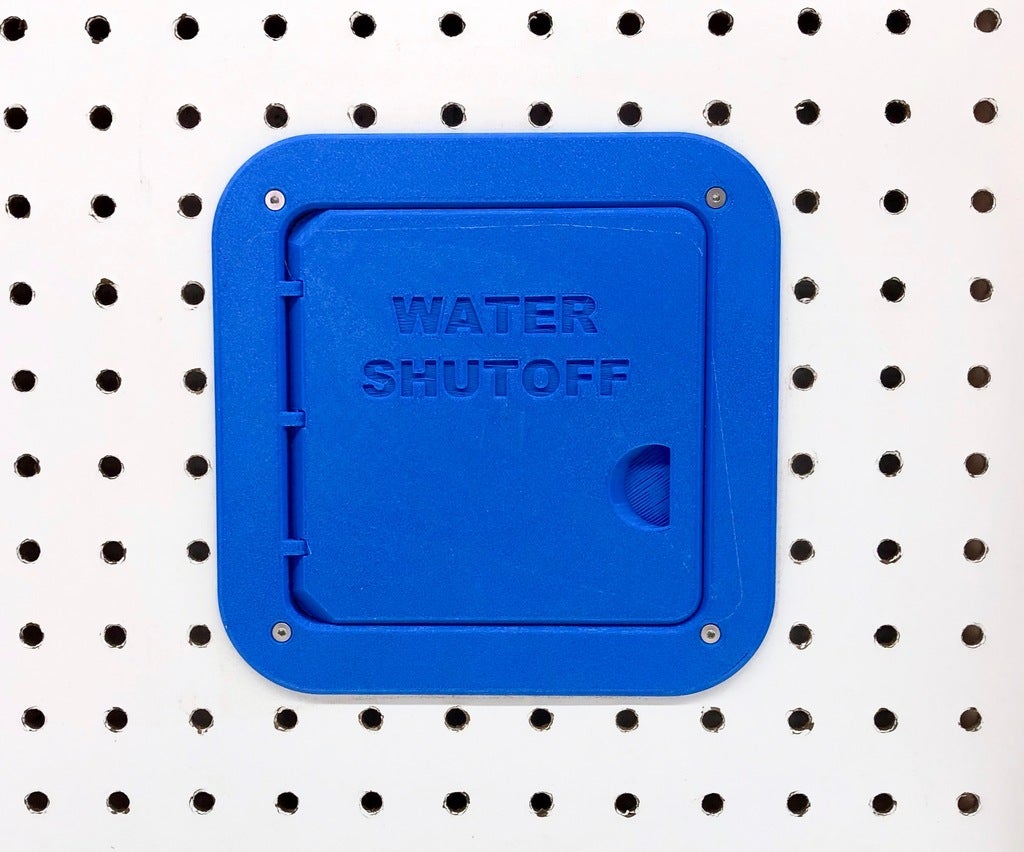
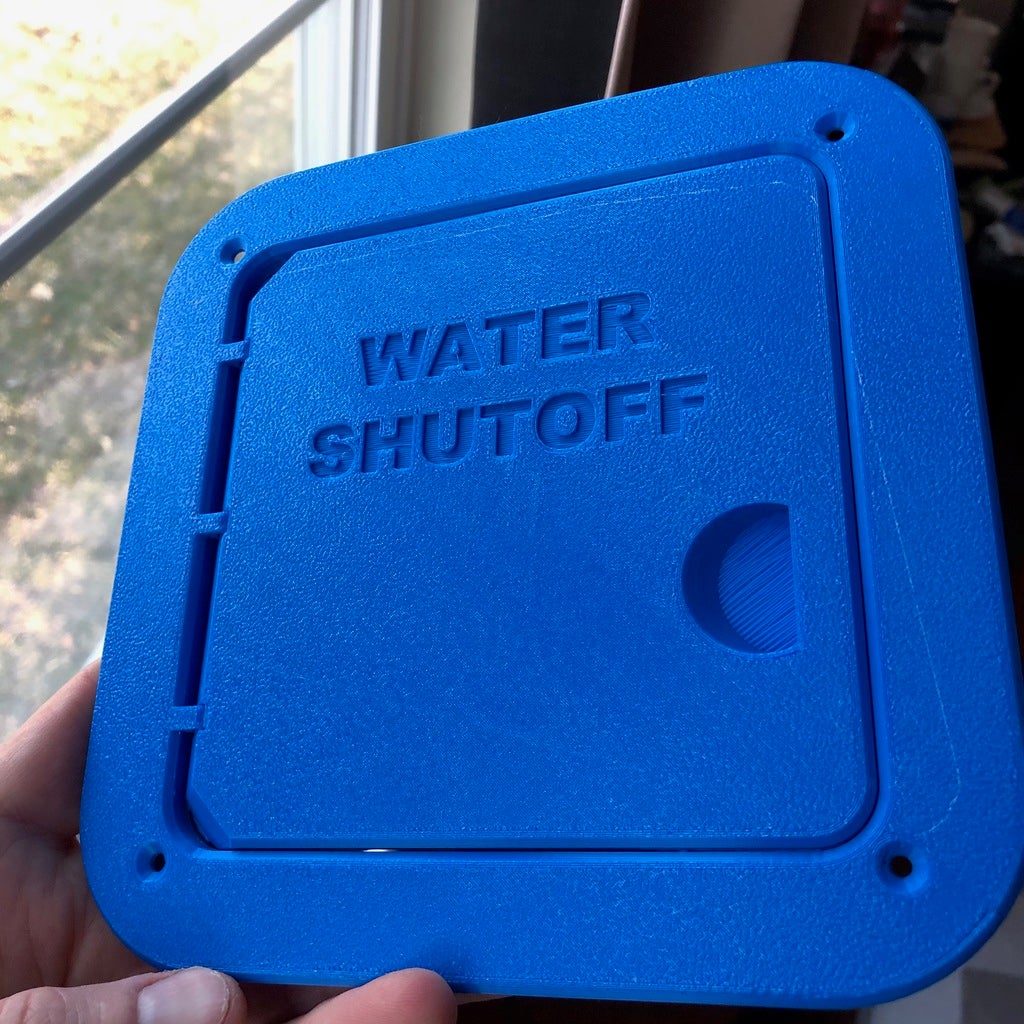
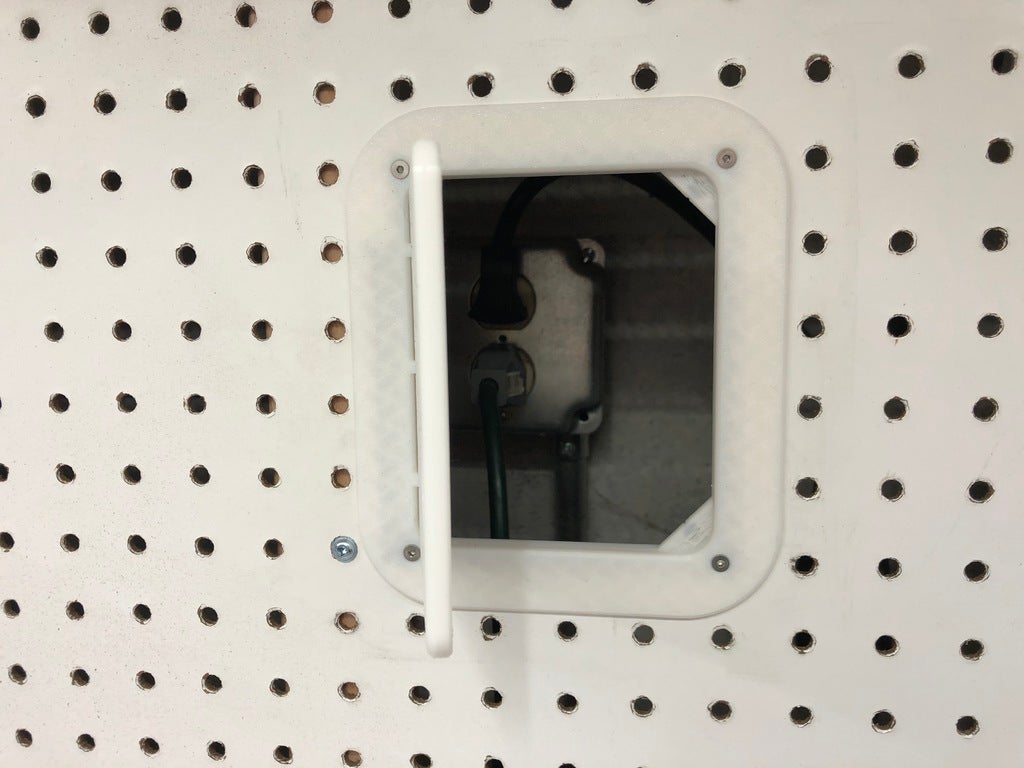
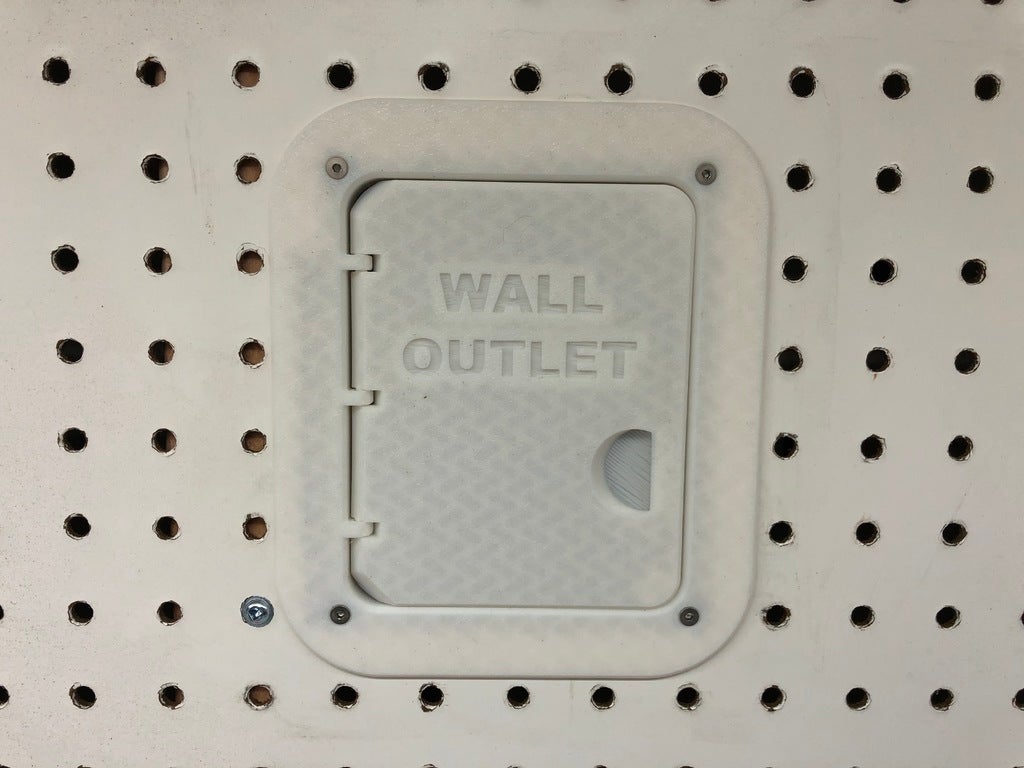
I'm building a work bench in my basement, and need access through the pegboard to the water shutoff valve and an outlet box. Rather than just sawing an ugly hole, I thought I'd model up a quick set of labeled doors! These are parametrically modeled based on the hole size and spacing of the pegboard, along with the number of hole rows and columns of the desired cutout. There are a few parametric steps that aren'tperfect, and there was a little tweaking necessary after switching the number of rows, so I've included F3D files for both the 5x6 and 6x6 patterns to get you started. To install, simply use a keyhole or jigsaw to cut a hole in the pegboard, through the existing peg holes, of the desired size. Use M3 countersunk screws to sandwich the pegboard between the door assembly and the back plate. Optionally, there are holes for friction-fit 6x3mm neodymium magnets to keep the door securely latched. Print instructionsCategory: Organization Summary I'm building a work bench in my basement, and need access through the pegboard to the water shutoff valve and an outlet box. Rather than just sawing an ugly hole, I thought I'd model up a quick set of labeled doors! These are parametrically modeled based on the hole size and spacing of the pegboard, along with the number of hole rows and columns of the desired cutout. There are a few parametric steps that aren'tperfect, and there was a little tweaking necessary after switching the number of rows, so I've included F3D files for both the 5x6 and 6x6 patterns to get you started. To install, simply use a keyhole or jigsaw to cut a hole in the pegboard, through the existing peg holes, of the desired size. Use M3 countersunk screws to sandwich the pegboard between the door assembly and the back plate. Optionally, there are holes for friction-fit 6x3mm neodymium magnets to keep the door securely latched. Print Settings Printer: Artillery3D Genius Rafts: No </div>Supports: No Resolution: 0.2mm </div>Infill: 15% Filament: 3D Solutech PLA Blue Notes: Position the door assembly face-down on the build surface, and you won't need any supports. I used 3 bottom/4 top layers, but could have used another bottom layer for the white PLA to hide the infill. :) Modeled with 0.5 mm clearance for the print-in-place hinge assembly, and that has worked great on my printer. There is a parameter in the F3D file if you need to increase or decrease that clearance.
Tags: door, hinge, printinplace, pegboard, thingiverse, resin print, nz made, made to order
Design credit: Original design by whoppingpochard - licensed under CC-BY.
View original model + STL files on Printables ↗
View original model + STL files on Printables ↗
Frequently asked
How long does shipping take?
Print-in-place pegboard access door is printed to order. Lead time is typically 1-3 business days plus 1-4 days NZ shipping. Standard NZ shipping is $10, free over $75.
What material is this printed in?
By default this is printed in High-Detail Resin (8K) at 0.025 mm layer height on an MSLA resin printer. Custom material and colour swaps are available, just leave a note at checkout.
Can I get this in a different colour?
Yes. Every product can be printed in any of the resin colours we stock, or hand-painted on request. Leave a note at checkout or email [email protected].
Do you ship outside of New Zealand?
Currently New Zealand only. Australian shipping is coming.
Who designed this?
Designed by an independent sculptor and licensed for commercial printing. The original is linked on this page.